Example: How to Follow an ArUco Marker
In this example, we will show you how to make the Leo Rover mobile robot follow an ArUco marker.
What to expect?
After completing this tutorial, your rover should be able to follow a printed ArUco Marker.
Prerequisites
List of components
- Any computer which you can connect to the rover via
ssh. - Stock Leo Rover.
Mechanical integration
The only physical thing you'll need to do is to print an ArUco marker:
- You can generate and download an ArUco marker from here (you'll need to select the 4x4 dictionary), or you can follow our instructions on generating markers from the tutorial linked below. It gives you more control regarding marker size and other parameters, which might be preferable for some users.
- The printed marker must have a white border around it.
- System default configuration expects marker with id 0 and 15cm in size, but those parameters can be easily changed for your setup.
Here's an example of our ArUco marker that we used for this task:
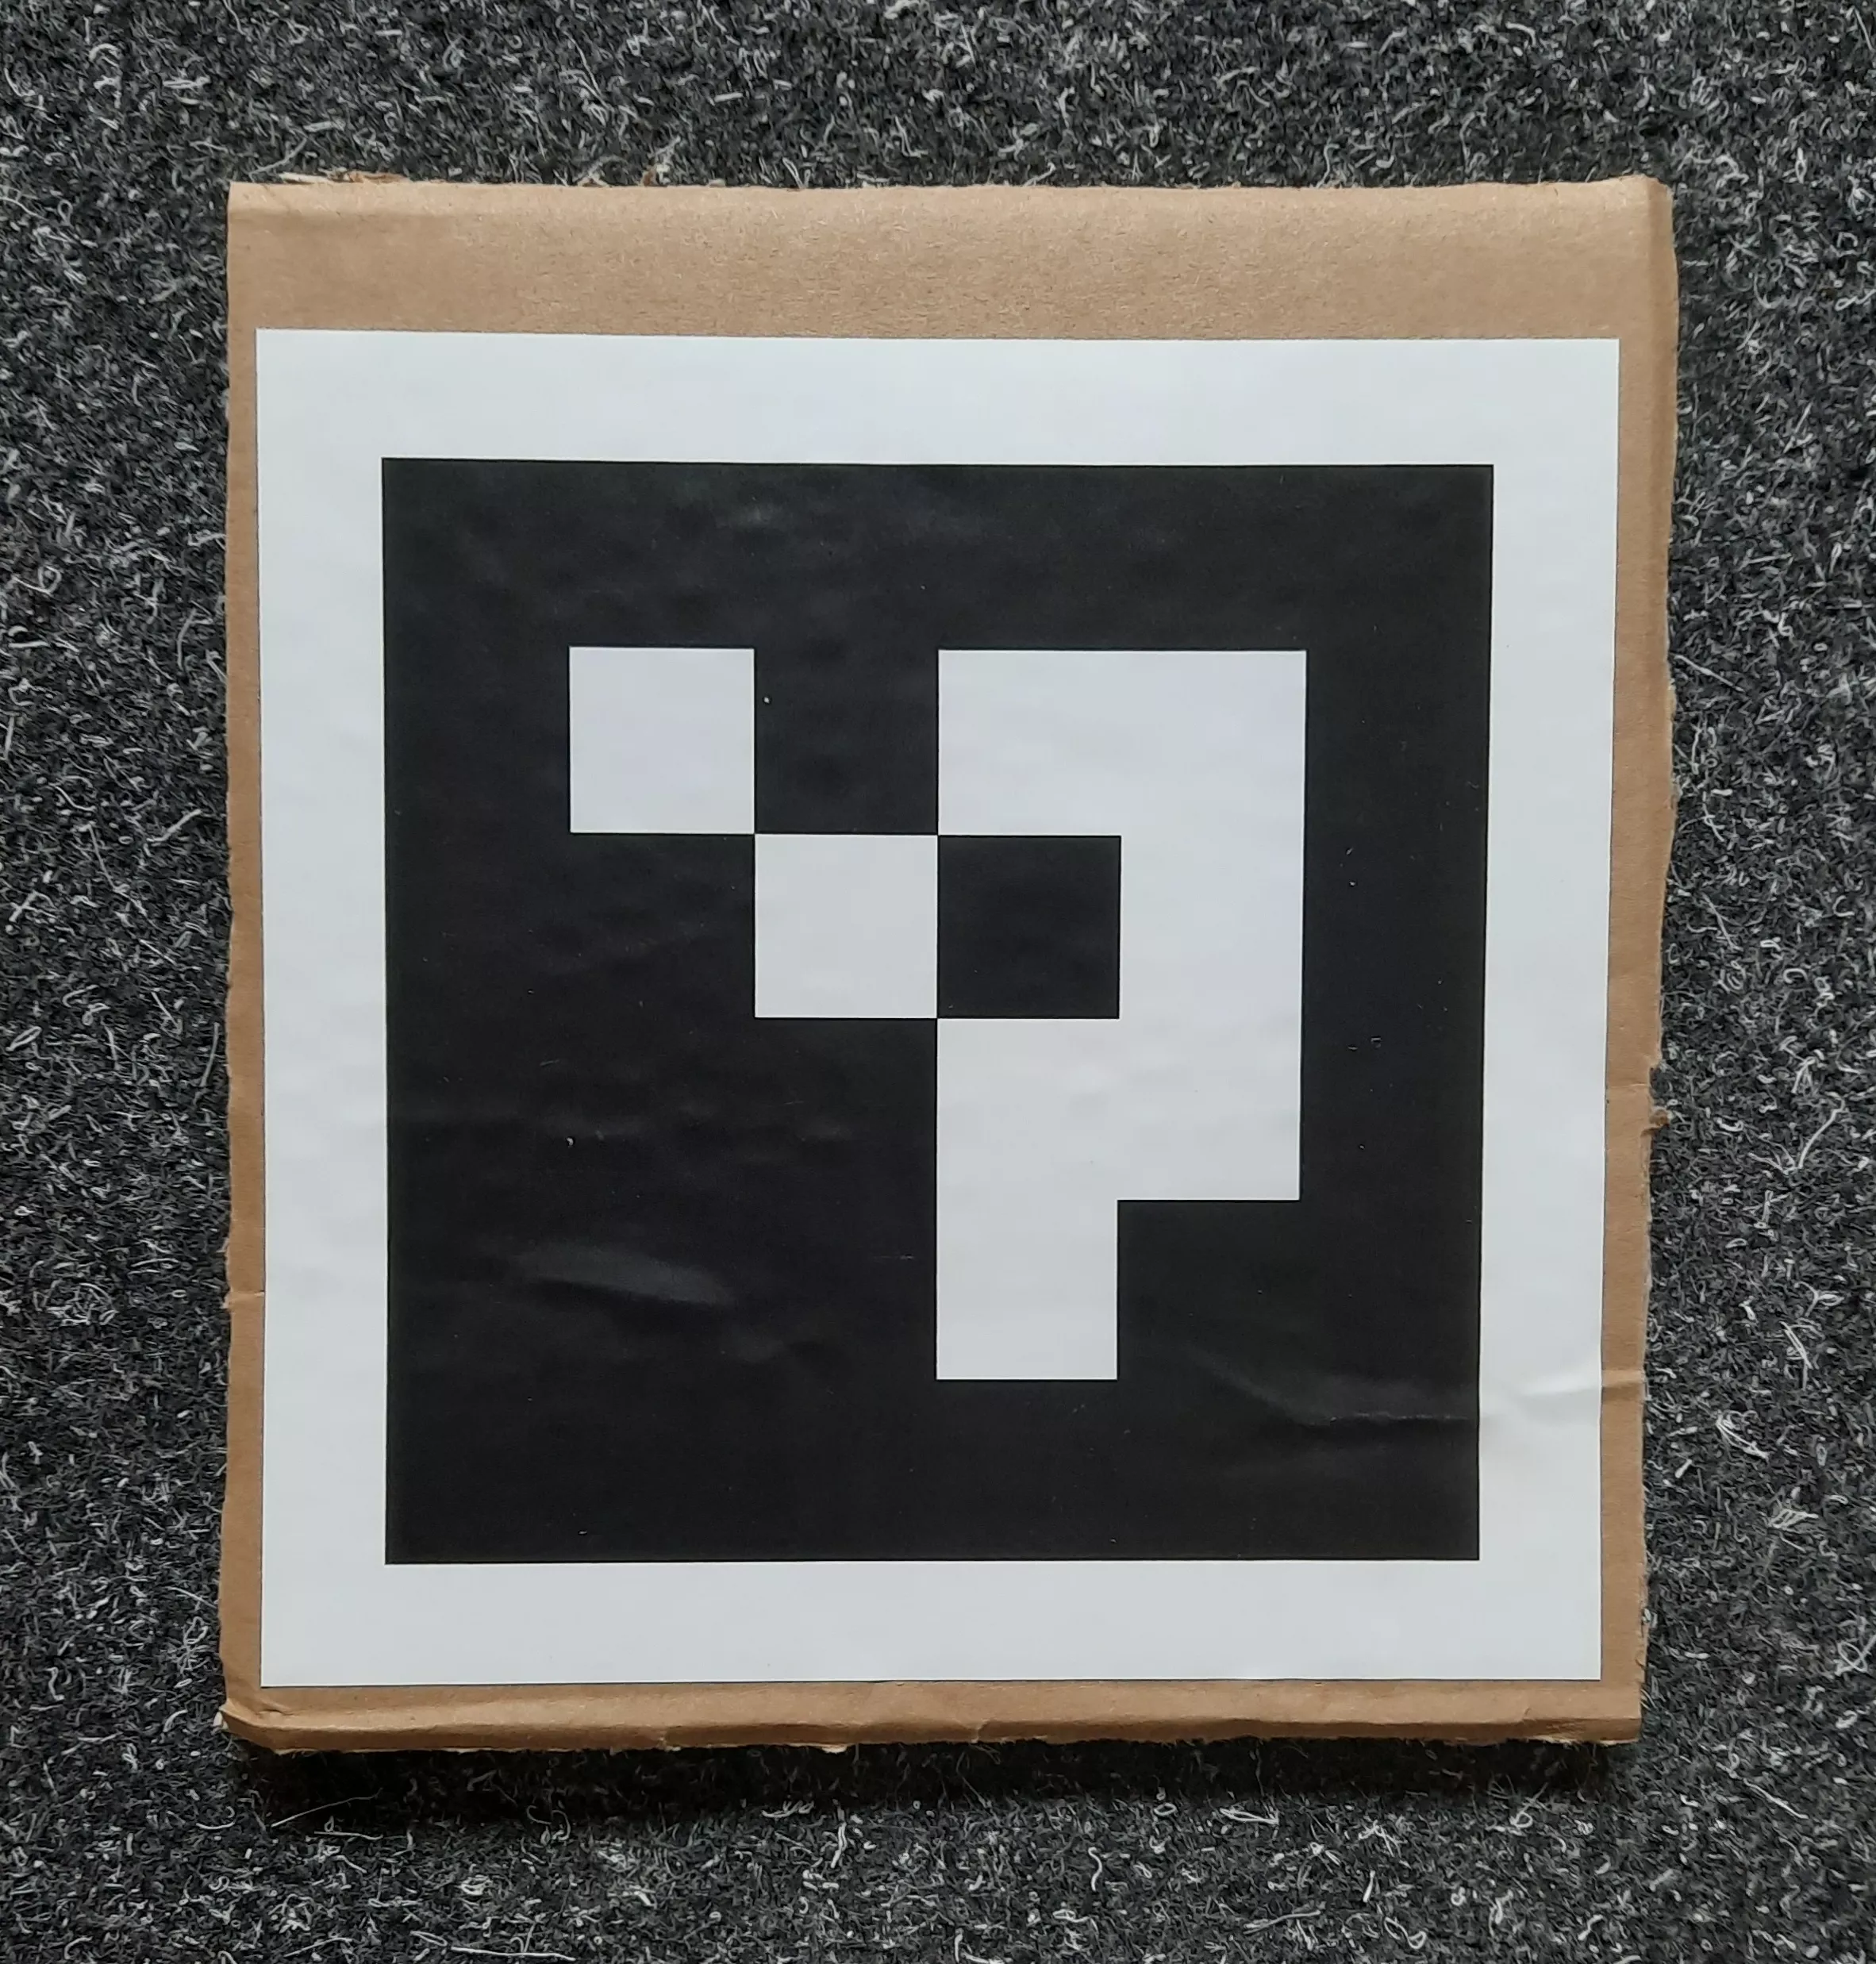
Remember that the white border around the marker is necessary. You can leave the printed marker on the piece of paper, but we do recommend to attach it to some harder material like cardboard - this way your marker won't bend, so it will be easier for the software to notice it.
Software integration
To complete those steps, you need to connect to the rover's network first, and then log in using ssh (both covered in prerequisites).
Installing using apt
Update the apt and install the package on the rover:
sudo apt update
sudo apt install ros-${ROS_DISTRO}-leo-examples
Then you just need to source the ROS workspace:
source /opt/ros/${ROS_DISTRO}/setup.bash
Building from source
You can also get all needed software from our leo_examples github repository. You need to clone it on the rover in the ros workspace directory (if there's no such a directory, first go through the ROS development tutorial):
cd ~/ros_ws/src
git clone https://github.com/LeoRover/leo_examples-ros2.git
Now, you need to install all the dependencies for the downloaded packages:
cd ~/ros_ws
sudo apt update
rosdep update
rosdep install --from-paths src -ir
Then, you need to build the packages and source the workspace:
cd ~/ros_ws
colcon build
source install/setup.bash
If your installation went without any errors, then you have successfully installed required software.
Examples
To run the example, you need to be connected to the rover via ssh. Once you do
this, you have to start ArUco tracking by changing the corresponding environment
variable to true in /etc/ros/setup.bash:
export START_ARUCO_TRACKING=true
And restart the ROS nodes:
ros-nodes-restart
After the ArUco tracking is running, you can start the ArUco follower:
ros2 launch leo_example_follow_aruco_marker follow_aruco_marker.launch.xml
Alternatively, you can start a tracker node by passing the argument to
follow_aruco_marker.launch.xml:
ros2 launch leo_example_follow_aruco_marker follow_aruco_marker.launch.xml start_aruco_tracker:=true
Use only one method to start the ArUco tracker - either
START_ARUCO_TRACKING=true or the start_aruco_tracker:=true launch argument.
Running both at the same time will prevent the follower from working.
The rover will start following the marker once it detects the ArUco marker with a given ID.
By default the rover follows only the marker with ID 0, and has marker tracker configured for a marker of size 15cm. If your printed marker doesn't comply with the requirements, you need to follow the configuration instructions.
Configuration
All nodes launched in the example have configurable parameters, therefore it's easy to adjust the system for your conditions. To be able to change anything you need to have ROS installed on your computer and be connected to the rover's network.
If you don't have ROS installed, you can follow this guide:
Being connected and having ROS installed, next you have to source the ROS
workspace:
source /opt/ros/${ROS_DISTRO}/setup.bash
Now just start the Dynamic Reconfigure plugin in rqt:
rqt -s rqt_reconfigure
In the displayed window on the left side choose the node which parameters you want to change.
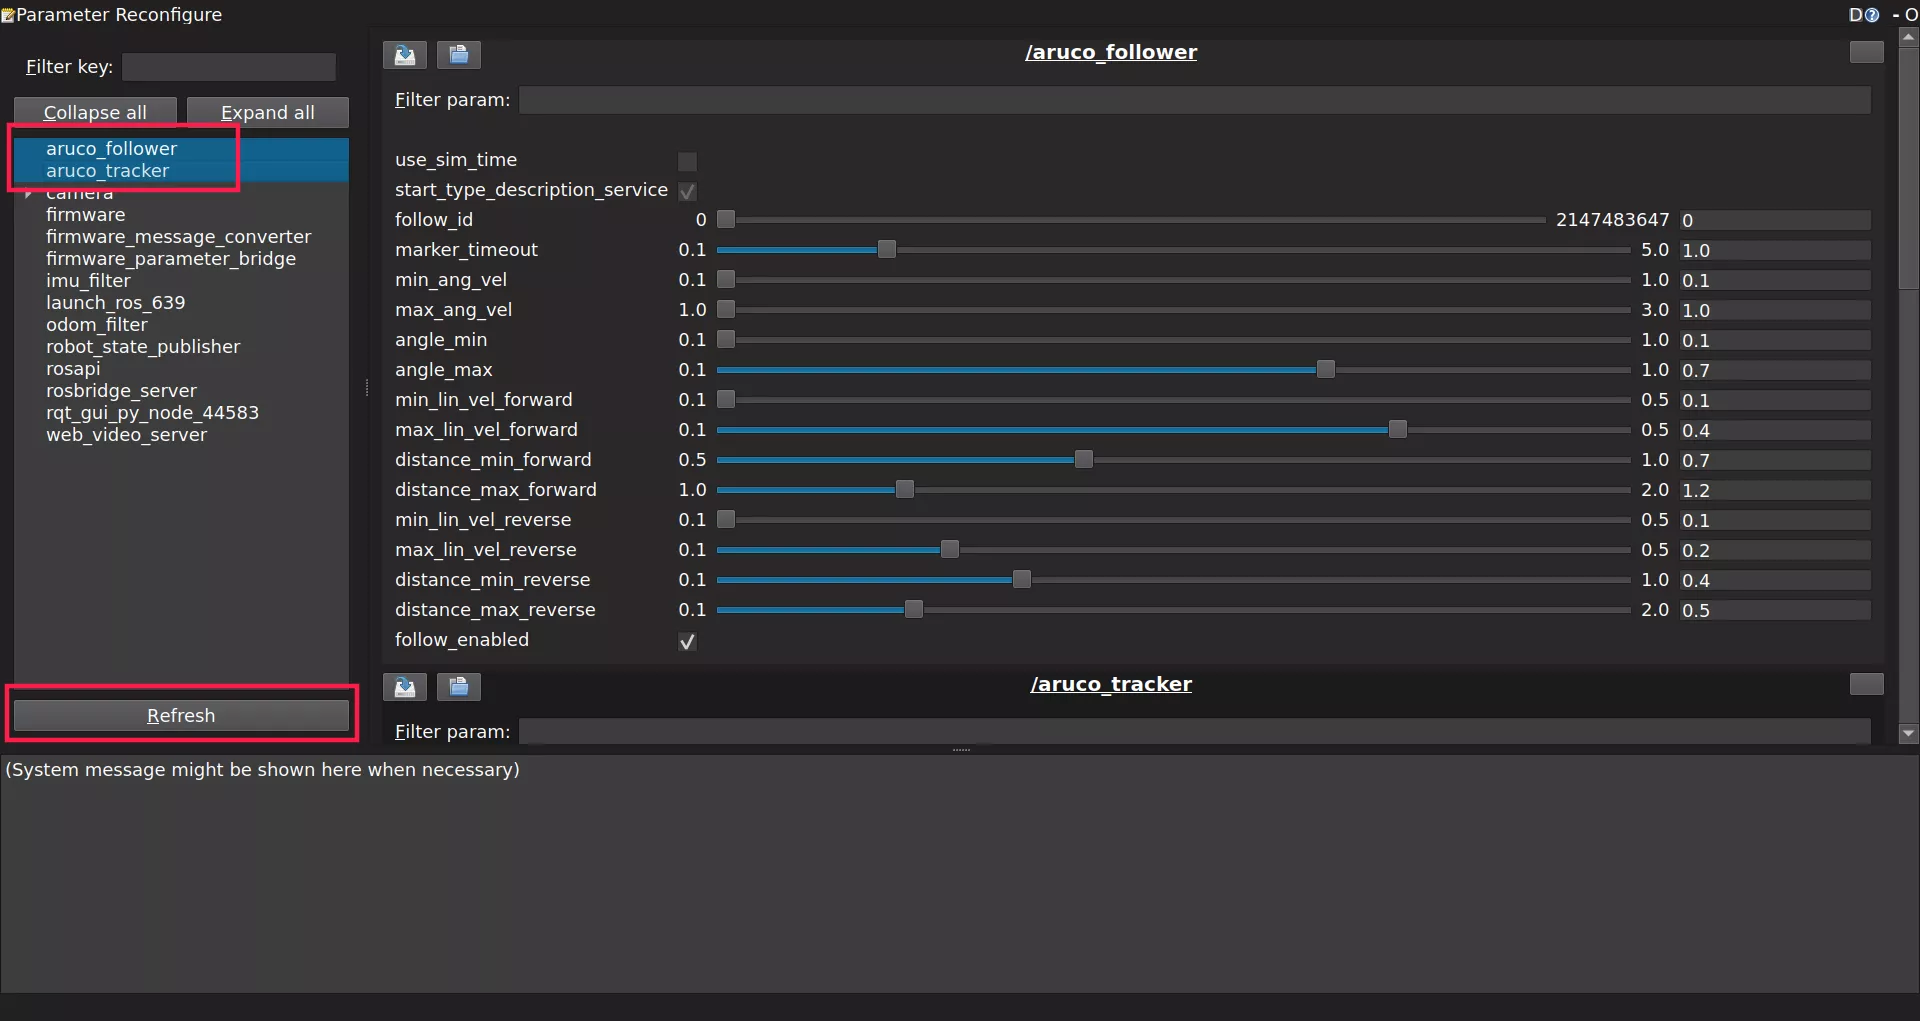
If you don't see your target node, try using the Refresh option.
The aruco_follower and aruco_tracker nodes are the core components that make
this example work. As their names suggest, one handles marker detection, while
the other uses that information to command the robot's movement.
Tracker
The most important parameter in the aruco_tracker node is marker_size. If
your printed marker is not exactly 15 cm, adjust this value accordingly.
Other parameters generally don't require any modification, but you're free to
experiment if you'd like. Keep in mind that once you restart the rover's
programs, the system will automatically reload the default configuration.
Only parameters within the aruco namespace (those named like aruco.xyz) are
safe to modify. Changing anything else may prevent the rover from following the
marker correctly.
For details on each of those parameters, check the
OpenCV ArUco documentation.
If you started ArUco tracking via START_ARUCO_TRACKING=true (rather than the
start_aruco_tracker:=true launch argument), tracker parameter changes can be
made persistent by editing /etc/ros/aruco_tracker.yaml on the rover.
Follower
Each parameter of the aruco_follower node includes a built-in description -
just hover your mouse over a parameter to see it. The most important one is
follow_id, which specifies the ID of the marker the rover should follow. You
can also use the follow_enabled checkbox to quickly enable or disable the
rover's movement.
The remaining parameters control the rover's driving and rotation speeds, as well as the distance thresholds that determine when it should move or stop.
Using a custom follower parameters file
To reuse your follower parameter settings across runs, create a yaml
configuration file in /etc/ros on the rover:
/**:
  ros__parameters:
    follow_id: 3
    marker_timeout: 1.0

    min_ang_vel: 0.1
    max_ang_vel: 1.0
    angle_min: 0.1
    angle_max: 0.7

    min_lin_vel_forward: 0.1
    max_lin_vel_forward: 0.4
    distance_min_forward: 0.7
    distance_max_forward: 1.2

    min_lin_vel_reverse: 0.1
    max_lin_vel_reverse: 0.2
    distance_min_reverse: 0.4
    distance_max_reverse: 0.5
Then pass it to the launch command using the params_file argument:
ros2 launch leo_example_follow_aruco_marker follow_aruco_marker.launch.xml params_file:=/etc/ros/aruco_follower_params.yaml
What's next?
After completing this tutorial, you can try other examples from the leo_examples repository (line follower and object detection), or try other integration from our site.